The craft fair booth setup audit: 6 mistakes to catch before the market opens


There's a specific feeling that happens about 20 minutes into a quiet first hour. You look around your booth, which honestly looks pretty good, and you can't quite figure out why no one's stopping. Most of the time, the problem was visible at setup. It's just easier to spot in hindsight.
The gap between "booth is up" and "booth is ready to sell" is where craft fair sales are lost. Not in a dramatic way. No one event goes sideways. It's a quiet leak: a shopper who didn't see a price and kept walking, a sale that didn't happen because your card reader wasn't connecting, a table that looked inviting from 2 feet away and invisible from 15. This audit is the 2-minute craft fair booth setup pass that catches those things before the market opens.
What's the difference between a booth that's set up and one that's ready to sell?
A booth that's set up has all the product out. A booth that's ready to sell has prices visible on everything, a card reader that's tested and connected, signage readable from 10 feet away, and a table someone's actually walked to the aisle to look at. The setup is the physical part. The audit is the sales part. They take about the same amount of time and only one of them usually gets done.
Here's what to check.
Check 1 — Can a shopper see the price without asking?
This one quietly kills more sales than almost anything else. People at craft fairs don't ask for prices. It's not rudeness. Asking puts them on the spot, and most shoppers would rather keep walking than feel like they owe you a conversation. So if your prices aren't visible, they leave.
According to ACT Insurance's breakdown of common booth mistakes, missing or hard-to-find price tags are among the most consistent errors vendors make, and they're almost always fixable in under 5 minutes at setup. Every item needs a tag. Items in a grouped display need a clearly visible price for the group. If you've got 3 sizes at 3 price points, all 3 need to be labeled, not just the one you remembered.
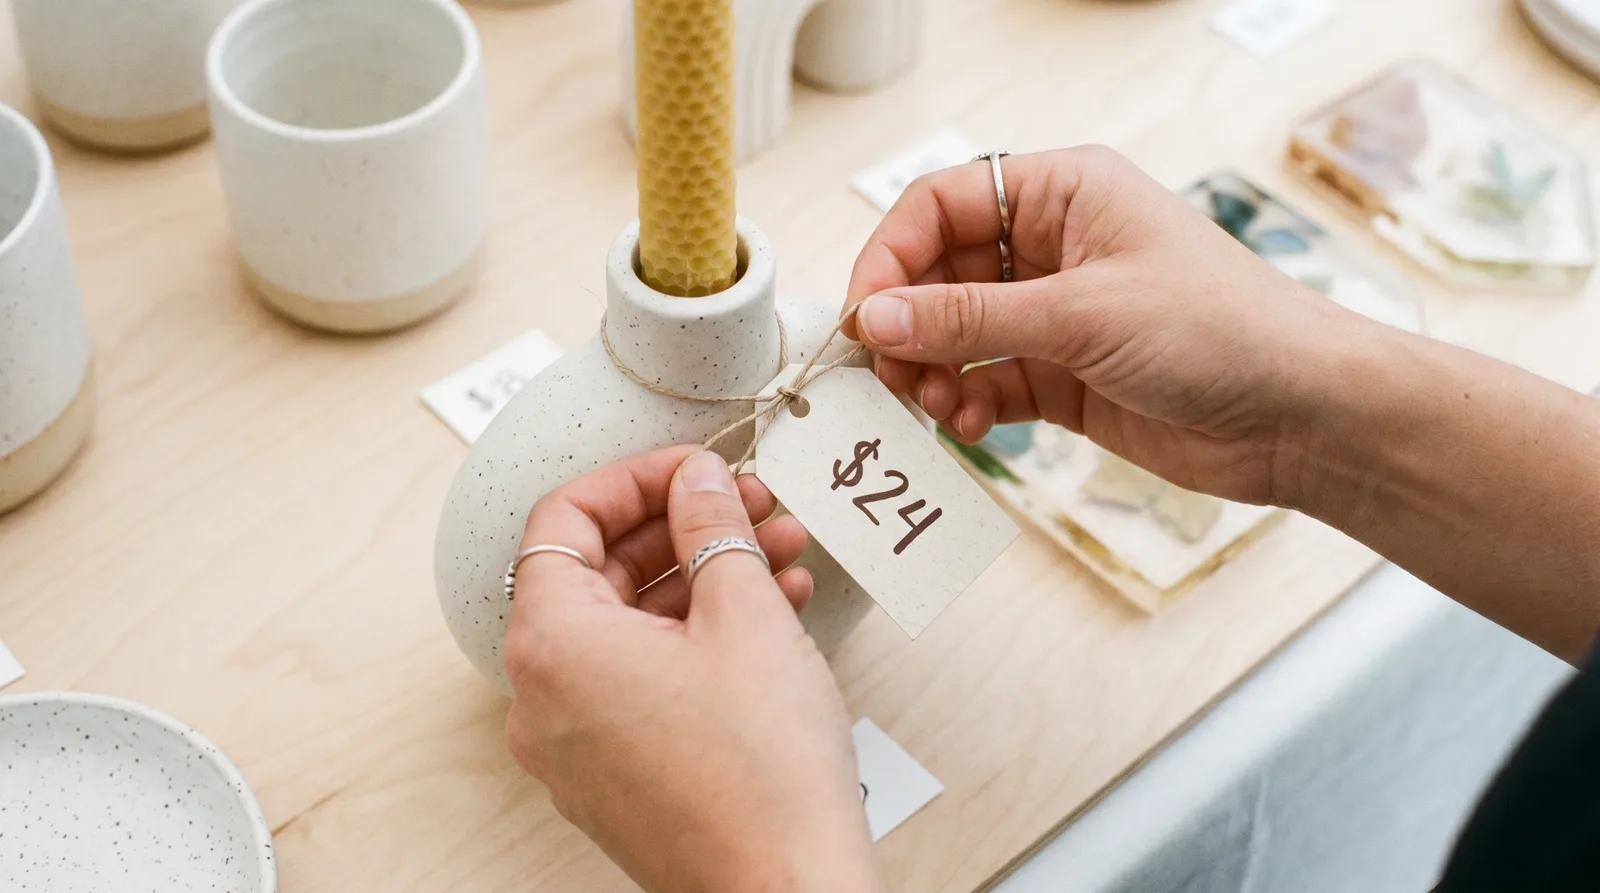
A quick scan at setup: pick up one item from each area of your table. Can you see the price tag when you're holding it the way a shopper would? If not, that's your first fix. The full packing checklist has a section on tag supplies if you're prone to leaving them in the bin.
Check 2 — Have you tested your card reader at this venue?
Not at home. Not in your car on the way over. At the venue, connected to the WiFi or signal you'll actually be using when someone hands you their card.
We learned this one the "hard" way. At an outdoor market with no door controls, people were walking in before we'd finished setup. Two people wanted to buy a set of 3D printed Fidget Clickers, cards only, no cash. The card reader had connected fine at home the night before. At the venue it wouldn't connect to the iPad at all, and the phone we tried as a fallback had NFC that was too old to work. About $10 in sales, gone. If we'd tested at the booth instead of at the kitchen table, we'd have had 20 minutes to fix it.
83% of shoppers prefer paying by card over cash, and at craft fairs the number of people carrying enough cash for an impulse buy is lower still. A card reader that isn't working at market open isn't a minor inconvenience. It's a wall between you and a lot of people who'd otherwise buy. Test it connected to the actual network. Process a $1 transaction to yourself if you need to confirm it's live.
Check 3 — Walk to the aisle and look back
This is the most skipped step in craft fair booth setup, and it's the one that makes the biggest difference. Most vendors set up their table from behind it or from the side, which means they're seeing it from an angle no shopper ever will.
Walk to the middle of the aisle in front of your booth. Stand there for 30 seconds and just look. What's at eye level? Is there a clear focal point, or does the table look like a busy flat surface? Can you tell what you're selling from here, or does it all read as a blur of product? Is there something elevated enough to be visible from this distance?
Made Urban's research on craft fair display consistently finds that the aisle view is what determines whether a shopper slows down. Up-close details, card designs, scent notes: none of that matters until someone decides to stop. The booth layout guide goes deeper on structuring the space so the aisle view works in your favor.
Check 4 — How readable does your booth sign need to be?
Readable from at least 10 feet away, in normal daylight. If someone has to step close to read your business name, the sign isn't working. Your sign's job isn't to look good in photos. It's to communicate two things at a distance: who you are, and roughly what you sell. Dark text on a light background, minimum 2-inch letter height, and no script fonts that are decorative up close but unreadable at speed.
A simple test: stand at the aisle and read your sign. If you can do it easily, it's fine. If you find yourself squinting or stepping closer, that's your answer. A sign that fails this test is invisible to the people walking past who might otherwise have stopped.
Check 5 — Are bags accessible and easy to grab?
This one sounds minor until you're mid-transaction on a busy stretch and you can't find your bags without turning around and digging through a bin. Shoppers who've just decided to buy are in a generous state of mind. Making them wait while you dig for a bag is a small thing that shouldn't happen.
Bags, tissue paper, and any protective sleeves should be ready and beside your checkout before the market opens — accessible without stepping away from the customer. If you sell anything fragile (prints, ceramics, glass), the wrapping materials should be right there too. A purchase that gets handled awkwardly at checkout is a purchase someone remembers less fondly.
Check 6 — Do you have a restock plan?
If you sell through your display inventory early, what happens? A table that goes from full to half-empty mid-day can look like a booth that's winding down rather than one that's selling well, and shoppers read it that way.
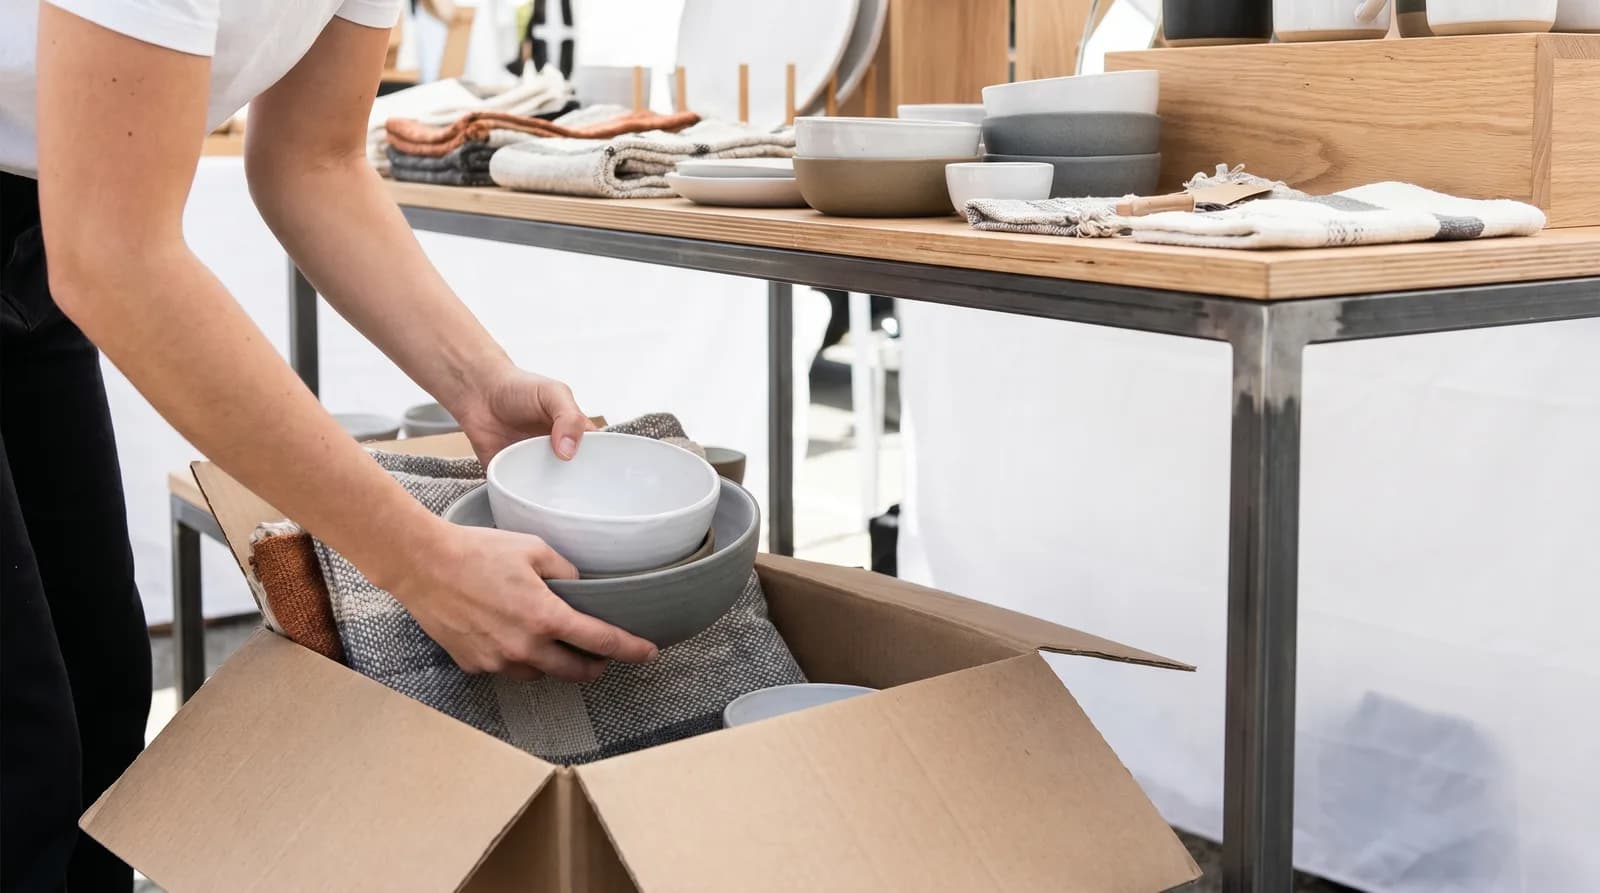
Before the market opens, know where your reserve stock is and how you'll pull from it without tearing the table apart. This is where a bin system pays for itself: a labeled bin setup means you can restock in 2 minutes without disrupting what's on display. The how many of each product to make guide helps you work out how much reserve to keep on hand by product category.
The 2-minute pass
Run these 6 checks after setup, before the market opens:
- Can every item's price be seen without asking?
- Is the card reader tested and connected at this venue?
- Have you stood in the aisle and looked back at your booth?
- Is your sign readable from 10 feet in daylight?
- Are bags and packaging at the front and easy to grab?
- Do you know where your restock inventory is and how to pull from it?
The quiet first hour usually isn't random. It's one of these. And most of them take under 5 minutes to fix if you catch them at setup instead of mid-morning.
MyEventPrep tracks sell-through and revenue across events so you can spot patterns over time: which products move early, which ones sit, and what a strong day actually looks like for your specific booth. Sign up free and connect your first event in under 5 minutes. The post-event debrief gives you a 5-minute format for capturing what worked at each market, so the next setup gets a little easier.
Frequently Asked Questions
What should I check before a craft fair booth opens?
Run a quick audit across 6 areas: prices visible on every item, card reader tested and connected at the venue, a walk to the aisle to see what the table looks like from a shopper's perspective, signage readable from 10 feet, bags and packaging ready at the front, and a clear plan for restocking mid-day. Most booth problems that show up as a slow first hour are visible at setup if you look for them.
How do I know if my craft fair booth is working?
Watch the first 15-20 minutes: are people slowing down when they pass? Are they stopping? Are they reaching out to touch anything? Stopping and touching are the 2 signals that matter. If people walk past without slowing, the booth isn't pulling them in from the aisle. If they stop but don't touch, something about the table is making it hard to engage. Tracking these patterns across events shows you what's actually working.
Do I need a card reader for a craft fair?
Yes. 83% of shoppers prefer paying by card over cash, and at craft fairs the number of people carrying enough cash for an impulse purchase is lower still. A vendor who can only take cash is effectively invisible to a large share of the people who'd otherwise buy. Test the card reader at the venue before the market opens, not at home the night before.
How do I make my craft fair booth sign more visible?
Use dark text on a light background, minimum 2-inch letter height, and avoid script fonts that look good up close but are hard to read at walking speed. The sign needs to communicate 2 things from at least 10 feet away: your business name, and roughly what you sell. Test it by standing in the aisle and reading it from there. If you have to step closer, the sign needs work.
How early should I arrive to set up at a craft fair?
Arrive early enough to finish setup and still have time for this audit before the market opens. Most events allow vendor setup 1-2 hours before opening, and you want at least 15-20 minutes at the end of that window for checks, not rushing to finish unpacking. Some markets have less door control than you'd expect — having your card reader tested and your table audit done before any early visitors arrive isn't overcautious, it's just good prep.