How Early Should You Start Making Products for a Craft Fair?

Most advice on how early to prepare for a craft fair gives you a flat answer like "3 months." That's a fine starting point, but it ignores the one thing that actually matters: how much you have to make and how fast you make it. A maker with 30 simple keychains and a maker with 200 hand-poured candles do not have the same timeline, even for the same event.
The good news is there's a cleaner way to figure this out. Instead of guessing, you work backwards from the event date using your own numbers. You count your total production hours, divide by the hours you can put in each week, and let that tell you when to start. Some sources recommend a 90-day window to prep for a craft show, but your real answer might be sooner or later. This post walks through the math, step by step, so you can stop wondering and pick a date.
How early should you start making products for a craft fair?
Start making products for a craft fair as soon as your total production hours, divided by the hours you can work each week, says you need to. Add up the time to make everything you plan to bring, divide by your weekly making hours, add a buffer, and count that many weeks back from the event date. That's your start date.
This is backward scheduling, and it's how production planners avoid both missing deadlines and starting too early. Backward scheduling begins with the delivery date and works in reverse to find when you need to start. It works just as well for a craft fair as it does for a custom order.
Here's the whole rule in one line:
The rest of this post breaks that into 3 steps, plus how to set a buffer and why most makers land on the wrong start date.
Step 1: Know how many of each product you need
Before you can count hours, you need a quantity for each product. This is the part most makers skip, and it's why their timeline falls apart later. You can't schedule production for a number you haven't decided on yet.
There's no single perfect formula, but a few common rules of thumb give you a solid starting target:
- The booth fee rule. A common guideline is to bring 5 to 10 times your booth fee in inventory value. A $100 booth means $500 to $1,000 in product.
- The sales goal rule. Another approach is to bring 2 to 3 times what you expect to sell, so you don't run thin on your best items.
- The traffic rule. At an average show, roughly 1% to 3% of attendees buy something. If a fair advertises 8,000 visitors, that's somewhere around 80 to 240 sales to plan for.
If you've sold at events before, your own numbers beat every rule of thumb. Past sales tell you which items move and which sit. We dig into that in our guide on how many of each product to make, and if you use Square, your reports can do a lot of the work in planning your next market from sales data.
For the math below, let's use a candle maker heading to a weekend fair. After looking at past sales, they land on:
| Product | Quantity needed |
|---|---|
| Jar candles | 60 |
| Wax melts | 40 |
| Gift sets | 20 |
How do you add up your total production hours?
Add up your production hours by multiplying each product's time to make by the quantity you need, then summing those totals. A candle that takes 30 minutes times 60 candles is 30 hours. Do that for every product, add them together, and you have the full number of hours standing between you and a packed table.
This is the number almost nobody calculates, and it's the one that decides everything. Made Urban suggests finding how many items you make per hour and dividing your stock total by that. Same idea, run per product.
One honest warning: include the boring parts. Curing, tagging, packaging, and labeling all eat time. Made Urban notes that finishing details like tagging and packaging add up and are easy to forget when you estimate. If a candle is "30 minutes" to pour but another 10 minutes to cool, label, and box, it's really 40.
Here's the candle maker's full count, using realistic per-item times:
| Product | Time to make each | Quantity | Total hours |
|---|---|---|---|
| Jar candles | 0.5 hr | 60 | 30 |
| Wax melts | 0.25 hr | 40 | 10 |
| Gift sets | 0.75 hr | 20 | 15 |
| Total | 55 hours |
55 hours. That's the real workload hiding behind "I'll just whip up some candles."
How many weeks of production do you actually need?
Divide your total production hours by the hours you can realistically work each week. If you have 55 hours of work and can make for 8 hours a week, that's about 7 weeks of production. That number, not a generic "3 months," is how long you actually need.
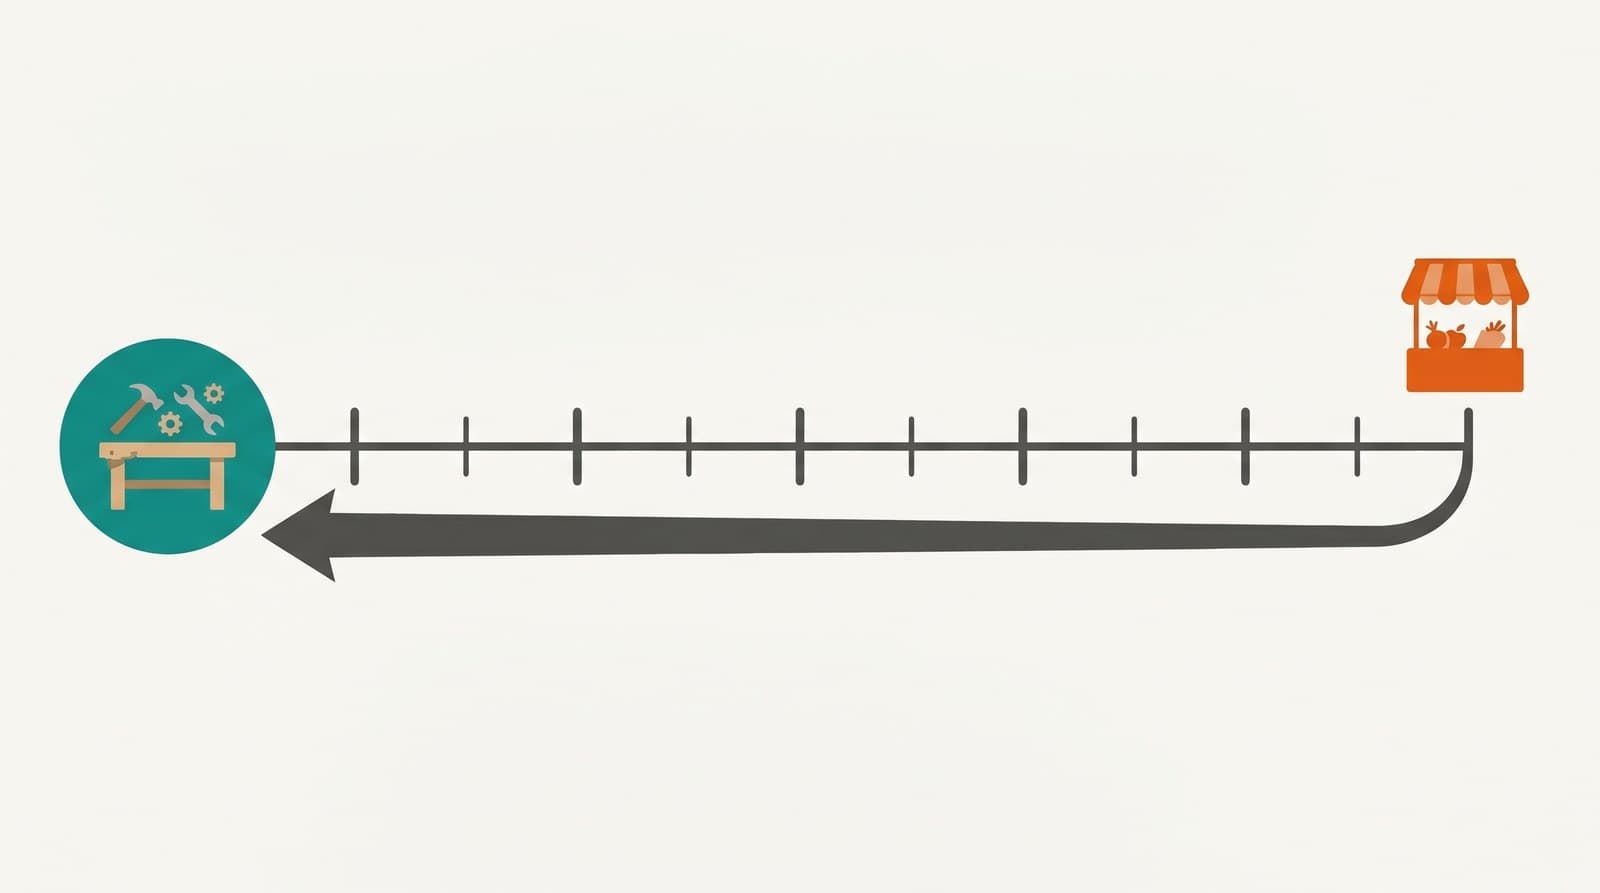
The key word is realistically. Not the hours you wish you had. The hours you'll actually get after a day job, family, sleep, and the rest of running a craft business. This simple division is the same one other makers use: 40 items needed across 8 weeks comes out to 5 items per week. We're just doing it in hours instead of items, which works even when your products take wildly different amounts of time.
Back to the candle maker:
- 55 production hours total.
- 8 hours a week is what they can honestly commit.
- 55 ÷ 8 = about 7 weeks of pure production.
So 7 weeks out is the bare minimum start date. But "bare minimum" assumes nothing goes wrong, and something always does. That's where the buffer comes in.
Why most makers start too late
Most makers start too late because they trust their gut on time, and the gut is a terrible estimator. There's a well-documented reason for this called the planning fallacy, and it affects nearly everyone.
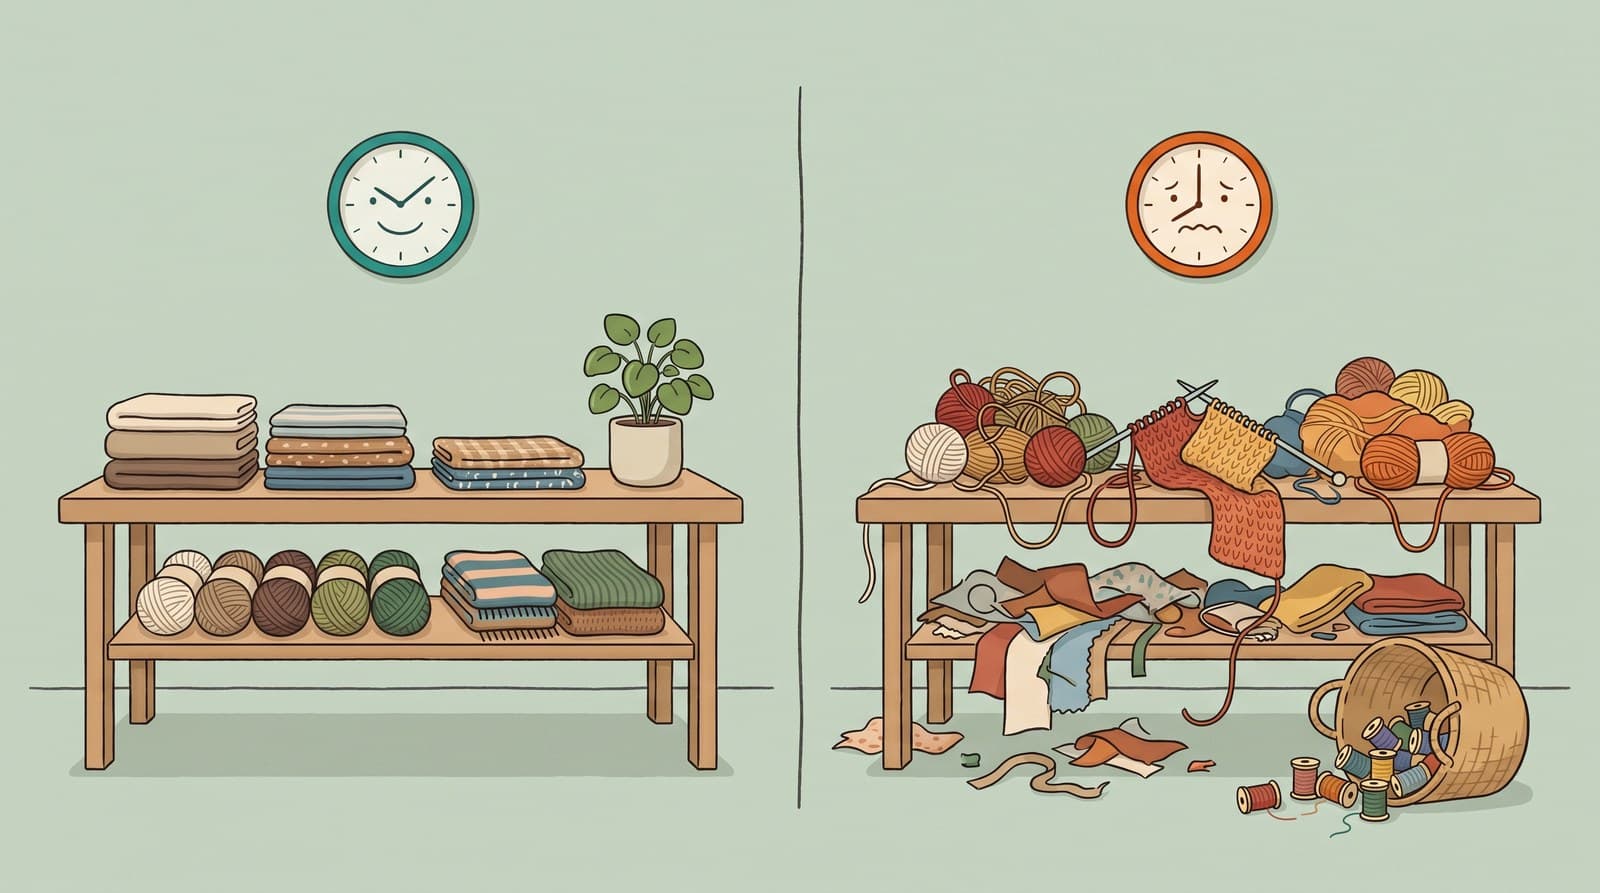
The planning fallacy was identified by psychologists Daniel Kahneman and Amos Tversky in 1977. It's our tendency to underestimate how long a task will take, because we picture the best-case version while we plan. We imagine smooth pours and zero mistakes, not the batch that doesn't set or the wick supplier who's out of stock.
The research is humbling. In one study of students estimating their thesis timelines, the average guess was about 34 days. The average actual time was nearly 56 days. Only about 30% finished within their own prediction. The bias shows up everywhere from daily chores to major construction, so makers aren't off the hook.
The fix isn't to try harder to guess right. It's to stop guessing. When you build your timeline from counted hours instead of a hopeful feeling, you sidestep the whole problem. And when you do feel rushed, the temptation is to overpack to feel safe, which we'd gently push back on in our take on how many of each product to make. More stuff doesn't fix a late start.
How much buffer should you build in?
Build in a buffer of about 25% to 50% on top of your minimum production time. This covers the things you can't schedule: a bad batch, a sick week, a supply delay, or simply being slower than you hoped. The buffer turns a timeline that only works on paper into one that survives real life.
Made Urban suggests padding your numbers by 25% to 100% depending on the event and what you sell. For a production timeline, the same instinct applies. Round up, don't round down.
Here's the candle maker's finished math:
- 7 weeks of minimum production time.
- Add a 30% buffer: about 2 extra weeks.
- Start about 9 weeks out, a little over 2 months before the fair.
Notice that's close to the generic "3 months" advice, but now it's earned. A maker with simpler products might land at 4 weeks. A maker with a huge holiday market load might need 4 months. The math fits your table, not someone else's blog post.
Starting on time has a quieter benefit too: you protect yourself. Running a craft business can be exhausting, and a late start guarantees the worst version of it, all-nighters and resentment toward work you used to love. A calm runway is the whole point of our calm prep approach.
Let the math do it for you
You can run all of this on paper, and plenty of makers do. The catch is that the numbers change. You add a product, a fair wants more stock, your time-to-make drops as you get faster, and suddenly your spreadsheet is wrong and you don't notice until it's tight.
This is the exact problem MyEventPrep was built to take off your plate. You store each product's time to make once. You set the quantity you need for an event. The tool adds up your total production hours automatically, so the 55-hour number is always there and always current. No multiplying, no forgotten packaging time, no stale spreadsheet.
From there, the backward math is yours to finish: divide by your weekly hours, add your buffer, count back from the date. But the tedious, error-prone part (totaling hours across a dozen products with different make times) just happens.
There's a bonus once you're tracking this. When you see production hours next to what actually sells, the time-sink products get obvious. We learned this with a big product of our own that ate over 20 hours each to make while smaller items sold faster for less effort, so we shifted what we built (the full story is in how much you need to sell to break even). That kind of call gets easy when the hours are right in front of you, and it's the heart of tracking your craft fair performance.
The bottom line
Figuring out how early to prepare for a craft fair isn't a vibe or a borrowed rule of thumb. It's three small calculations: count how many you need, add up the hours to make them, and divide by the hours you can actually work each week. Add a buffer, count back from the date, and you've got a start date you can trust.
The makers who feel calm in the final week aren't faster or more disciplined. They just started on a date the math gave them, not one their optimism picked. Run your own numbers and you'll likely find you need to begin sooner than it feels like, which is a much nicer thing to learn 9 weeks out than 9 days out.
Want the production-hours total done for you? Sign up free at MyEventPrep, add your products with their make times, and let the tool keep the count current while you focus on the making.
Frequently Asked Questions
How early should I start making products for a craft fair?
Start as early as your own math says. Add up your total production hours (time to make each item times the quantity you need), divide by the hours you can work each week, then add a 25% to 50% buffer. Count that many weeks back from the event date. For many makers this lands somewhere between 1 and 3 months out, but simpler product lines need less and large holiday loads need more.
What's the formula for a craft fair prep timeline?
The core formula is: (total production hours ÷ weekly making hours) + buffer = weeks before the event to start. Total production hours come from multiplying each product's time to make by how many you need, then adding them up. This backward scheduling method starts from the deadline and works in reverse, so you neither miss the date nor start uselessly early.
Why do makers always underestimate how long production takes?
Because of a cognitive bias called the planning fallacy, first described by Kahneman and Tversky in 1977. We picture the smooth, best-case version of a task while planning and ignore the delays that usually happen. Counting actual hours per product, including packaging and finishing, beats trusting your gut estimate.
How many items should I make per week before a craft show?
Take the total number of items (or hours) you need and divide by the number of weeks you have. If you need 40 items in 8 weeks, that's 5 per week. Working in hours is more accurate when your products take very different amounts of time to make.
How much inventory should I prepare for a craft fair?
A common guideline is to bring 5 to 10 times your booth fee in inventory value, or 2 to 3 times what you expect to sell. If you've sold at events before, your past sales data is a far better guide than any rule of thumb, since it tells you which specific products are worth your production hours.