Jewelry Display Ideas for Craft Shows That Actually Sell

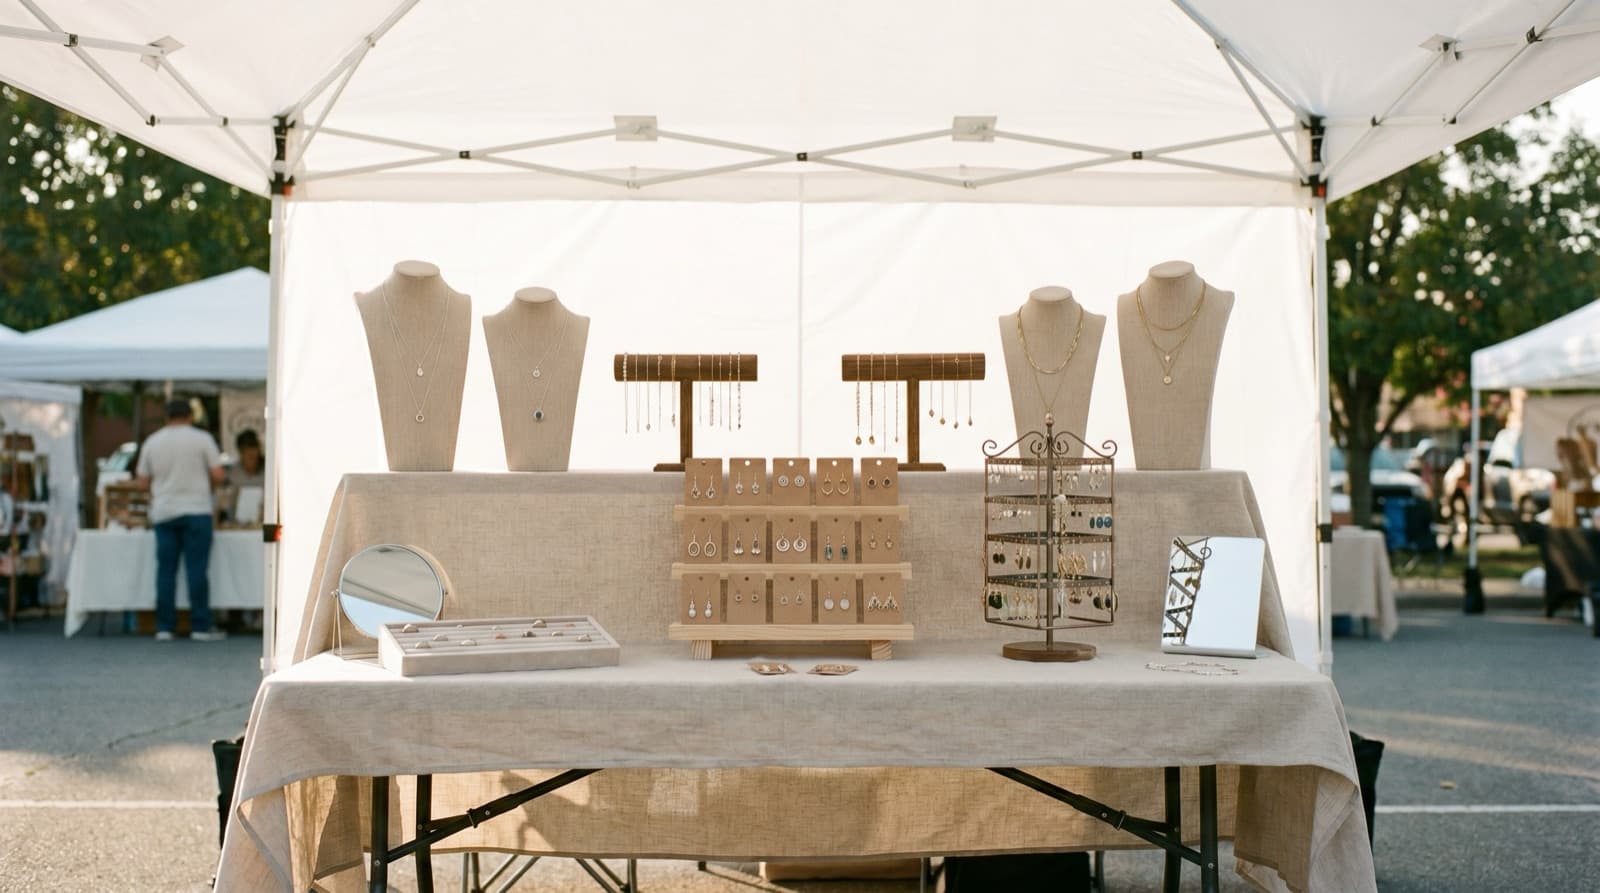
Jewelry is one of the most reliable sellers at craft shows, which is exactly why good jewelry display ideas matter so much. In one survey of 1,000 shoppers, 53% of handmade buyers said they had purchased at craft fairs, more than any other place, and earrings lead the category at most booths. The demand is there. The problem is the competition. You are rarely the only jewelry maker in the building.
A jewelry table also has a harder job than most. You are showing dozens or hundreds of small pieces in a tiny footprint, and the details that sell them (the weight of a pendant, the flash of a stone) only land when someone is close. So your display has one job: get a shopper to stop, then make it easy to reach out and hold something.
Everything below is in service of that. None of it requires a big budget. Crates, busts, a few stands, decent light, and a plan will get you most of the way.
What makes a jewelry display sell at a craft show?
A jewelry display sells when shoppers can see it from the aisle and touch it at the table. That means height so pieces clear the crowd, your best work at eye level, clear grouping by type, a neutral background so metal and stones stand out, and enough space that nothing looks crowded. The display earns the stop, then gets out of the way so the jewelry can do the rest.
Most display problems are not about the jewelry. They are about making the jewelry harder to notice than it needs to be. A flat table of trays, all at the same height, gives the eye no entry point. A packed table makes shoppers nervous about knocking something over. A dim corner hides the one detail that would have closed the sale.
The fixes are small and they stack. Get the height right, then the lighting, then the grouping, then the editing. Each one makes the next one work better.
Build height with busts, stands, and risers
Flat is the most common mistake at a jewelry booth, and the easiest to fix. When every piece sits in a tray at table level, your booth disappears behind the shopper standing in front of it. Height is what people see from 15 feet away.
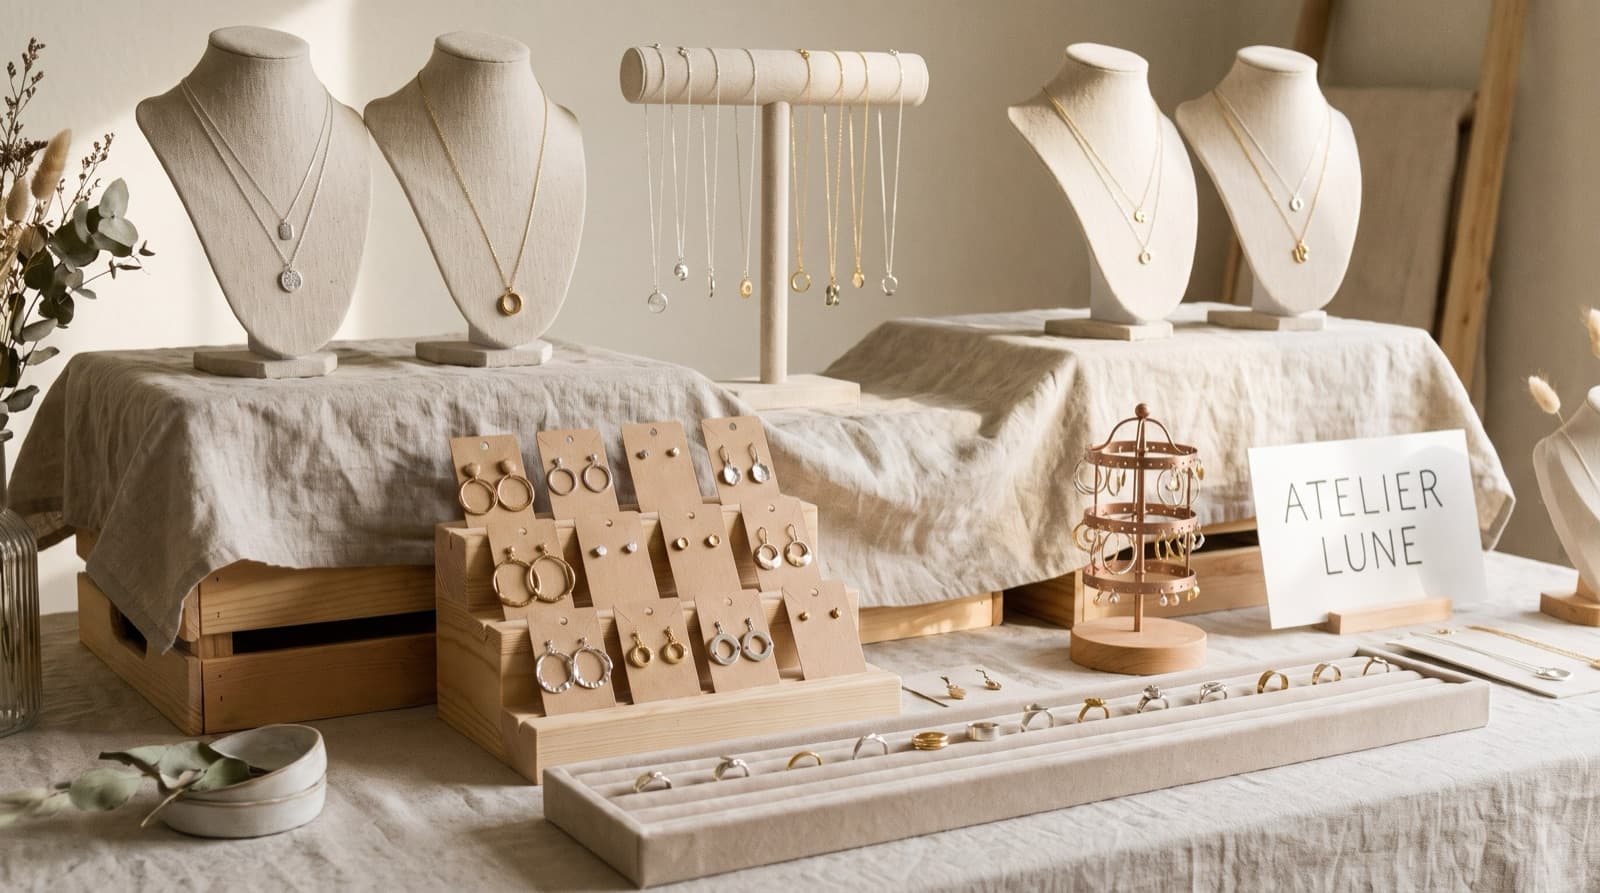
The classic approach is to cascade it. Put your tallest displays at the back and step down toward the front, so the whole table is visible at a glance and nothing hides behind anything else. A few reliable height-builders:
- Necklace busts and T-bars. Necklaces look like tangled rope in a tray and like jewelry on a bust. Stand them up, ideally at or near eye level for your taller pieces.
- Tiered earring stands and towers. A rotating tower or a tiered card rack puts a lot of earrings in a small footprint and lets people flip through without unloading the table.
- Ring ramps and rolls. A simple velvet ring ramp turns a pile of rings into a readable row.
- Crates and risers under the cloth. Wooden crates, boxes, or cake stands under your tablecloth lift whole zones up. Cheap, sturdy, easy to pack.
Aim for at least 2 levels, ideally 3: something at cloth height, something mid-range, and something near eye level (roughly 5 to 5.5 feet for a standing adult). Putting jewelry at eye level is a long-standing retail merchandising principle for a simple reason: people buy what they see first, and they see what is at eye level.
The booth layout guide goes deeper on structuring the full 10x10, and the jewelry booth layout planner gives you a jewelry-specific template to start from.
How do you organize jewelry by type on the table?
Group like with like. Put all the earrings in one zone, necklaces in another, rings and bracelets in their own spots, so a shopper scanning from the aisle understands the table in a second. Within each group, sort by style or color so a browser can find "the gold hoops" without digging. Clear zones reduce the small effort it takes to shop, and less effort means more hands on your work.
A jumbled table asks the shopper to do the sorting. Most will not bother. They will glance, fail to find a hook, and keep walking. Organized zones do the opposite: they pull the eye along a path and make each piece easy to compare against its neighbors.
A few grouping moves that tend to work:
- Sort earrings by style. Studs together, hoops together, statement pieces together. People usually arrive knowing roughly what they wear.
- Run a color or metal story. A row that moves from silver to gold, or light stones to dark, reads as intentional and is easier to shop.
- Keep one signature zone. Give your best collection its own elevated, well-lit spot instead of mixing it in.
Grouping by type also makes your post-event tracking cleaner, because you can see at a glance which zone got worked and which sat quiet.
Do you need special lighting for a jewelry booth?
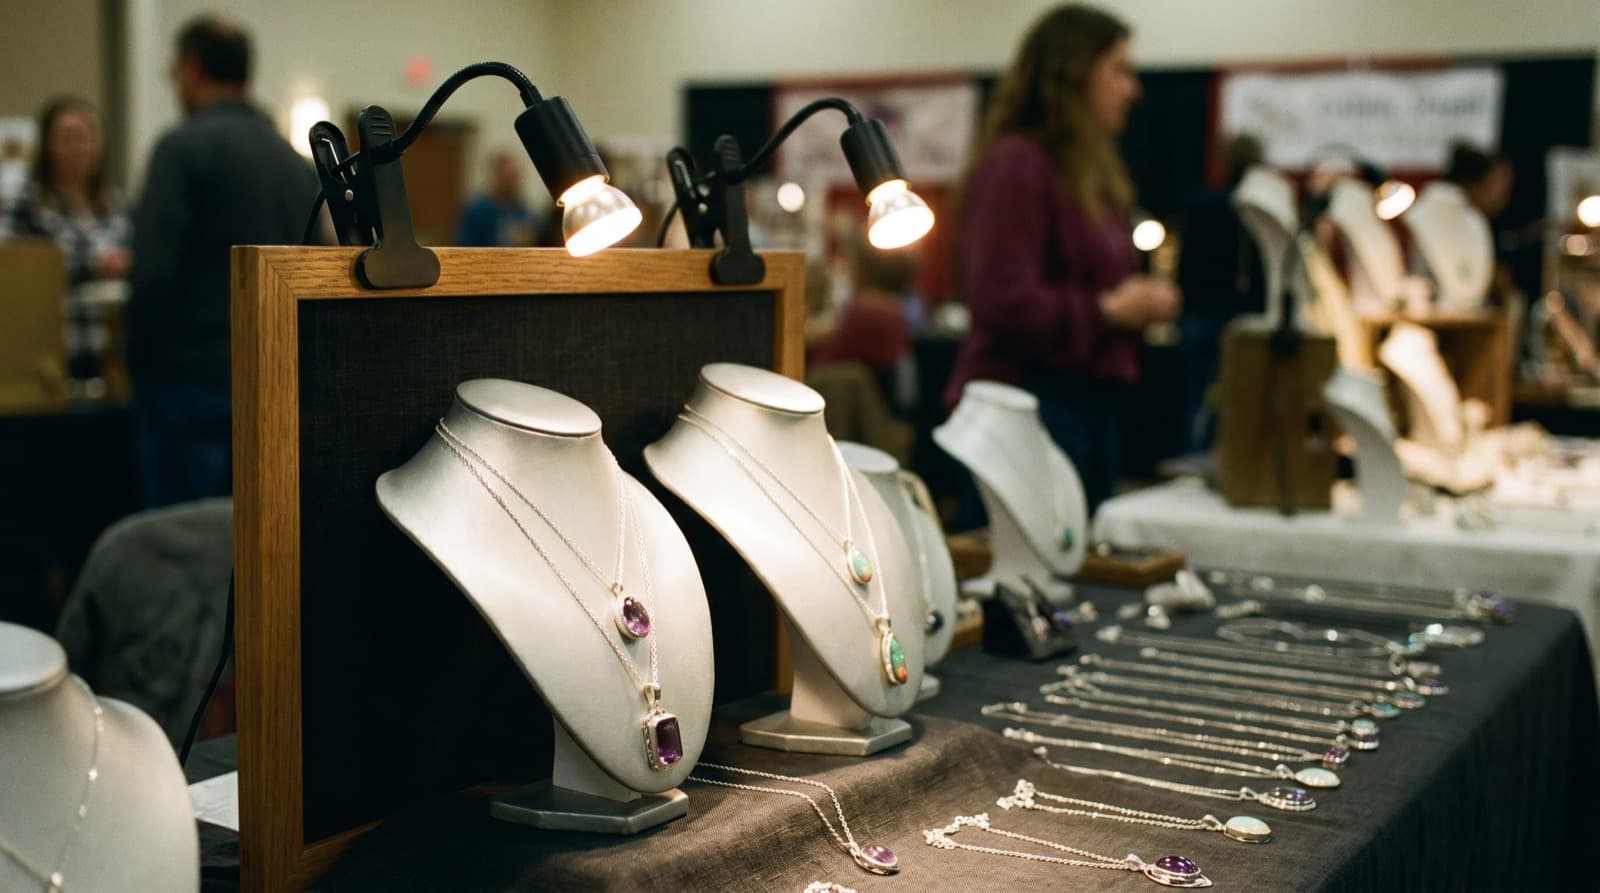
At indoor and tent shows, yes, and it is the upgrade most booths skip. Jewelry is the one category where lighting is not optional. The whole appeal is sparkle, and venue lighting rarely cooperates. Indoor halls run flat and fluorescent, tents cast everything in shade, and a cloudy afternoon can mute an entire table. Light is what brings metal and stones back to life.
You do not need a rig. A couple of small battery-powered or clip-on LED lights, aimed at your best pieces, change how a booth reads from the aisle. A few things worth knowing:
- Match the temperature to your metal. Warm-white light flatters gold, brass, and warm-toned stones. Cool-white suits silver and bright gemstones. If you mix metals, a neutral white is the safe middle.
- Light the focal zone first. Put your strongest light on the collection you most want photographed and bought.
- Bring backup power. Charged batteries or a power bank, because outlets at markets are rare and far away.
How do you prevent jewelry theft at a craft fair?
Keep sight lines clear, secure your pieces, and greet every shopper. Tall solid towers look great but create blind spots where a piece can vanish, so use see-through displays like gridwall to watch hands as people try things on. Securing pieces so they take two hands and a moment to remove turns an easy grab into too much trouble. A simple hello does a surprising amount: people looking to steal do not want to be noticed.
These are not hypotheticals. One vendor wrote about losing a bracelet from a blind spot behind her tallest display, then switching to see-through gridwall the next year so she could see the whole table and keep an eye on customers' hands. The same vendor found that fastening pieces with clips and pins let customers still touch and try things on, but made a piece take "two hands and a moment" to remove, which is usually enough to send a would-be thief looking for an easier mark.
How much security you need depends on what you sell.
| Touchable but secured (most makers) | Locked case (high-value pieces) |
|---|---|
| Clips, pins, or carded pieces on see-through displays | Glass case, look-don't-touch unless asked |
| Shoppers can try things on freely | Shoppers ask to handle each piece |
| Best for under-$100 silver, brass, beaded, resin | Best for gold, fine silver, gemstone, high-ticket |
| Higher conversion, more handling | Lower theft risk, fewer impulse tries |
For most makers, touchable wins. Jewelry sells best when people can feel the weight and see it on. Save the locked case for the pieces where a single loss really hurts.
How should you tag and price jewelry on the table?
Tag everything clearly, before you leave home, in one consistent style. A clearly priced booth lets shoppers decide on their own time. An untagged one turns every sale into a conversation the customer may not want to start, and a lot of browsers will simply move on rather than ask.
For jewelry, where you might have 40 similar earrings, a tag on every single piece gets messy fast. A cleaner approach:
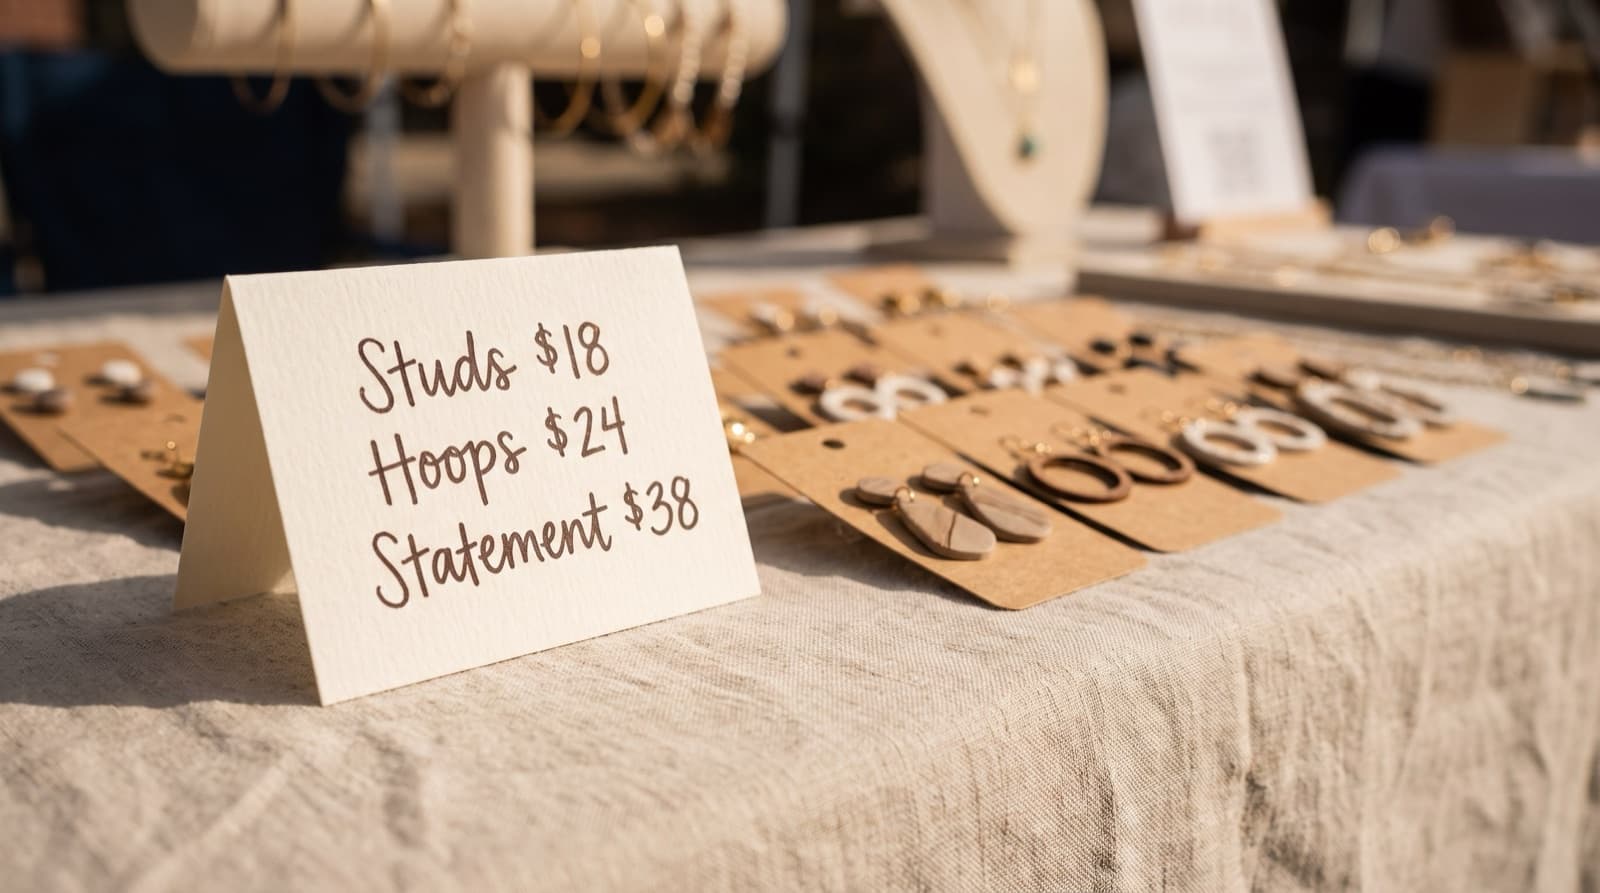
- Price by tier with small signs. "Studs $18 / Hoops $24 / Statement $38" on a little card beats forty tiny tags.
- Use one tag style. Mixed handwritten and printed tags read as unfinished. Pick one.
- Make tags readable from a step back. A price someone has to pick up to read is a price they often will not.
- Post your collection name and your handle. People who do not buy today will look you up later if you make it easy.
Edit the table before you pack
The most counterintuitive jewelry display idea is to show less. A generous-looking table and an overwhelming one are different things. Full means every piece has room to breathe. Overstuffed means a shopper cannot pick one thing up without nudging three others, and shoppers who cannot comfortably touch things do not buy them.
There is data behind this. Made Urban's analysis of vendor sales found that reducing the number of products on display correlated with a 27% increase in sales at comparable events. More choices do not always lead to more buying. Sometimes they lead to no decision at all.
Knowing which pieces deserve the prime real estate is easier when you track what actually sells. Jewelry tends to top the bestseller lists, but the lists describe averages, not your booth. Your own per-event sales tell you which collection earns the eye-level spot and which one is just taking up space. That is the whole idea behind MyEventPrep's jewelry tools: plan the display, pack every earring card, and learn what styles sold so the next show starts smarter.
The point
A jewelry display does not sell your work. It gets people close enough that the work sells itself.
Height pulls them in from the aisle. Light brings out the sparkle that a tray under flat lighting hides. Clear zones and readable prices let them shop without friction. And securing your pieces means you can keep the table touchable, which is where jewelry sells best. None of it needs to be expensive. Busts, crates, a few LEDs, and a plan get you most of the way.
The goal is a booth someone can read from 15 feet: here is what this maker makes, here is the price, and it looks worth stopping for. Start a free MyEventPrep account to track which pieces earn their spot, show after show.